How to FSCK Solus VM
What is fsck?
fsck stands for File System Consistency Check. It's a command-line utility in Unix/Linux systems used to check and repair file system errors on disks or partitions. It’s critical for maintaining file system integrity, especially after crashes, improper shutdowns, or hardware issues.
When Should You Run fsck?
You should consider running fsck in the following situations:
When your system reports file system errors on boot
If a disk becomes read-only unexpectedly
What fsck does?
Detects and repairs file system inconsistencies
Prevents data corruption
Recovers lost inodes, directory entries, and links
Ensures disk is stable and usable for read/write operations
Why Do Filesystems Go Corrupt?
Filesystem corruption can happen due to abrupt shutdowns, hardware issues, full disks, or unsafe disk writes. These issues can lead to incorrect file links, or bad sectors that cause the system to enter read-only mode as a protection mechanism.
Abrupt Shutdowns / Unsafe Disk Writes:
Forced shutdowns while data is being written to disk, leading to incomplete or corrupted writes.
Hardware Issues:
A failing hard drive starts giving read/write errors or becomes unresponsive, happens mostly in older disks.
What is “Read-Only Mode” and Why Does It Happen?
Read-only mode means the system or disk partition no longer allows write operations. This typically occurs when the kernel detects critical errors in the filesystem and remounts it in read-only mode to prevent further damage. It signals that a check and repair using fsck is needed.
What is fstab? : fstab (file systems table) is a configuration file (/etc/fstab) used during system boot to define how disk partitions, volumes, and other filesystems are mounted. Incorrect or overly restrictive fstab settings (e.g., forcing ro or missing rw) can cause a system to boot in read-only mode even when the disk is healthy.
Inspect the corruption and have proof of it. Before moving forward to the fsck on the server its really important to have proof of action of your doings. To know whether the system is in Read-Only mode, use the following command,
# mount | grep 'on / ' OR mount | grep 'ro,'
Expected output:

This explains that the partition is in read only mode, as the very first character in the start of the round brackets, tells the mode of the machine, in our case is read only.
Another reliable way to check is by using the touch or mkdir command to try creating a file or directory. If the system is in read-only mode, it will display an error message indicating that.
Example:

Extra: You can also use the command: dmesg | grep -iE 'ext4|error|fail|corrupt' to check error messages related to any operations that happened in the system, such as processes being killed or failures due to certain reasons.

In my case it’s

It means that no matter what, the system will boot in Read-Only mode when no errors are encountered during boot. This is defined in the line after errors=remount-ro. The second ro you see is the term that instructs the system to boot in Read-Only mode. So, before making any changes on machine, make sure that this option is set to rw. After that, your final result will look like this:

Then save the file and exit.
Note:
errors=remount-ro ensures that if errors are detected, the system remounts in read-only mode to prevent corruption.
rw mounts it as read/write.
Now, as of now, you have confirmed that the system is in read-only mode and is corrupted. We now need to repair it using fsck. The fsck can be performed using the below method:
Let’s assume your server has gone into Read-Only mode, which means your partition got corrupted, and now you need to resolve it at the server level.
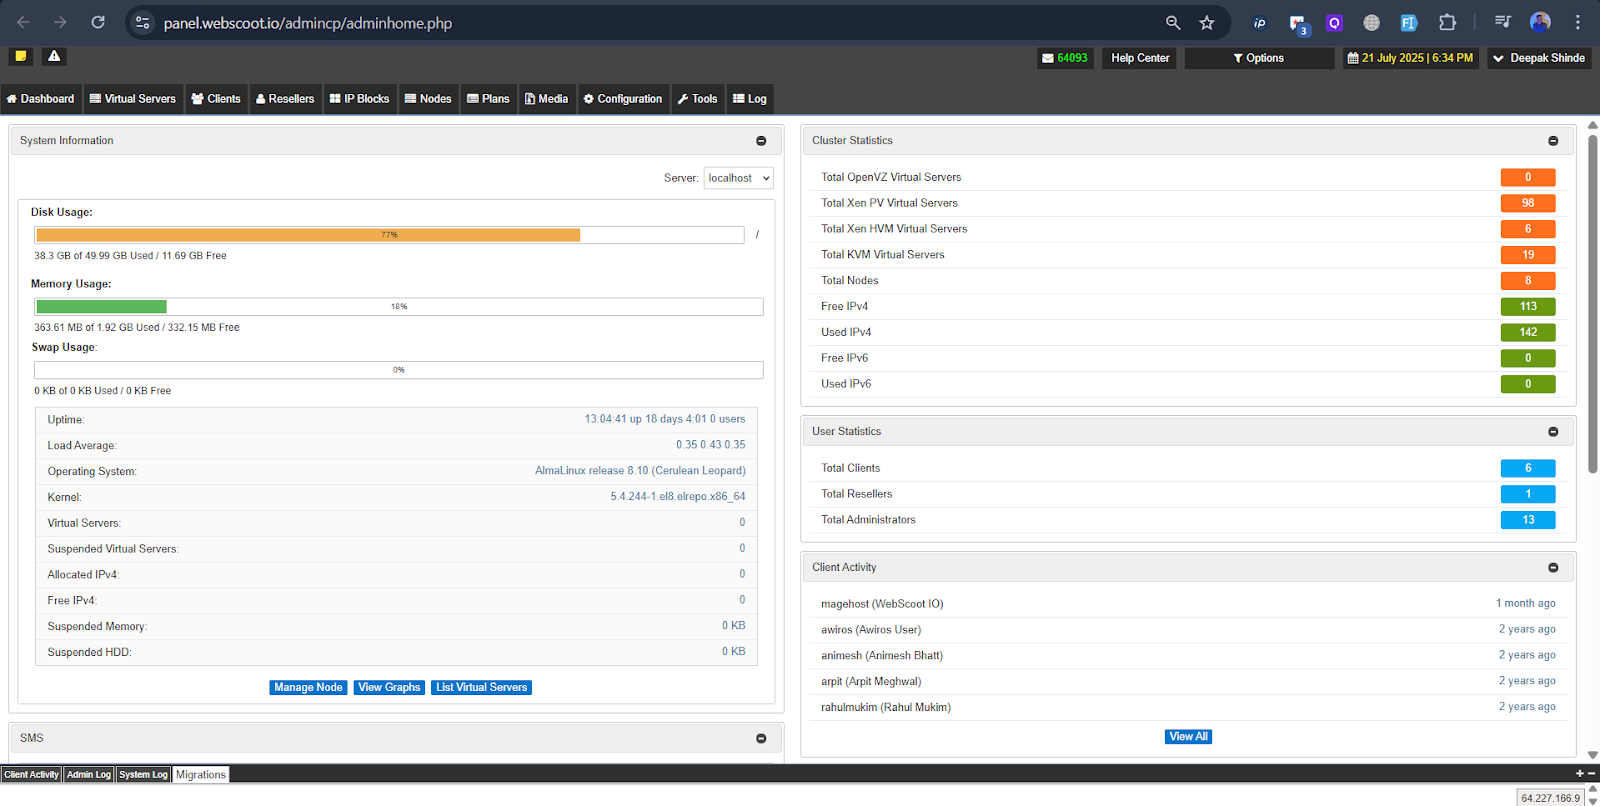
Got to solusVM, (A panel from where we manage all our nodes and server being hosted) credentials are in user zohovault.
Hover over the list serve option > List virtual servers > Search your server from right option
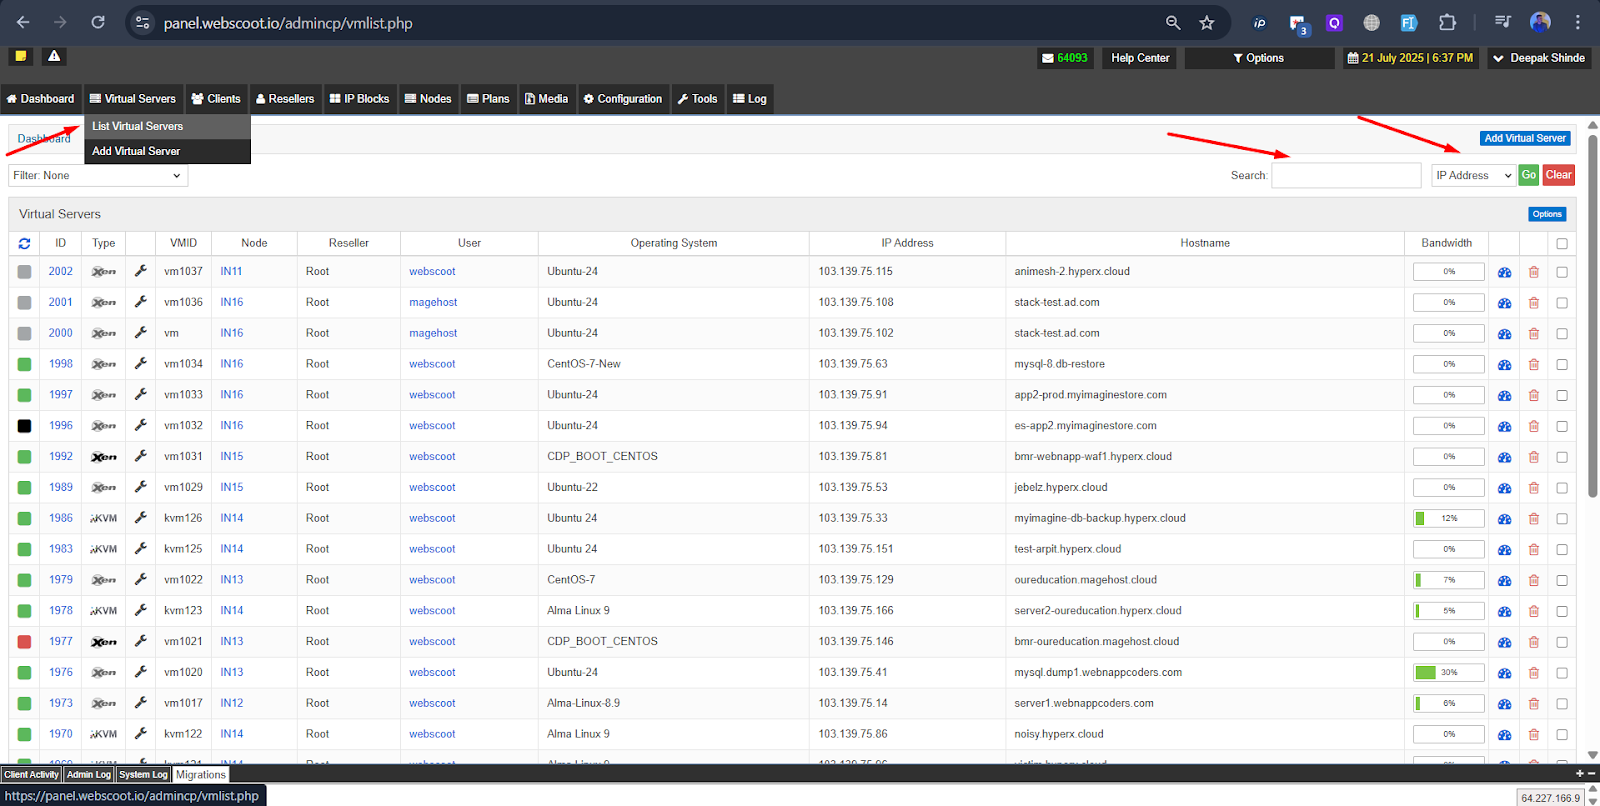
Click on manage

Take console connection:
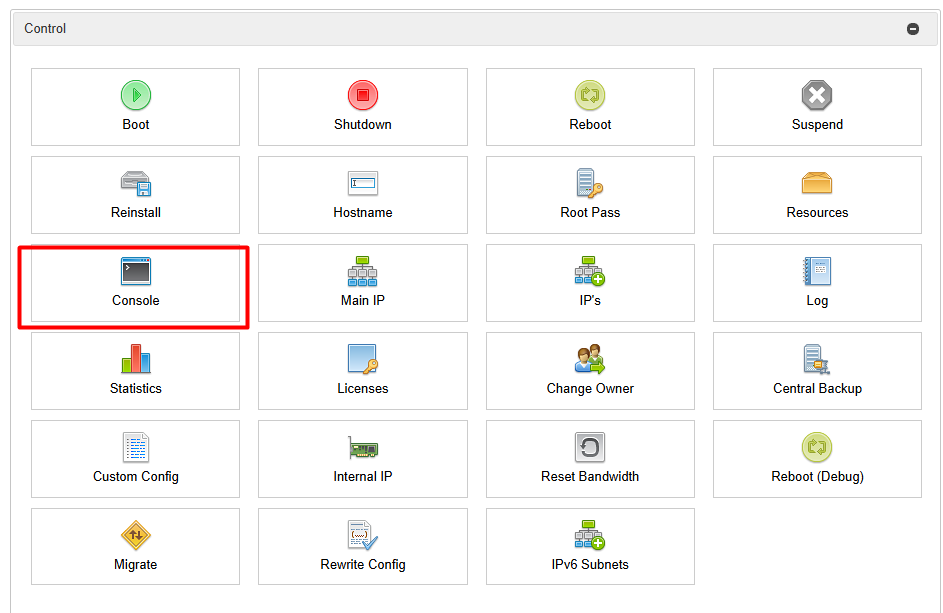
Then

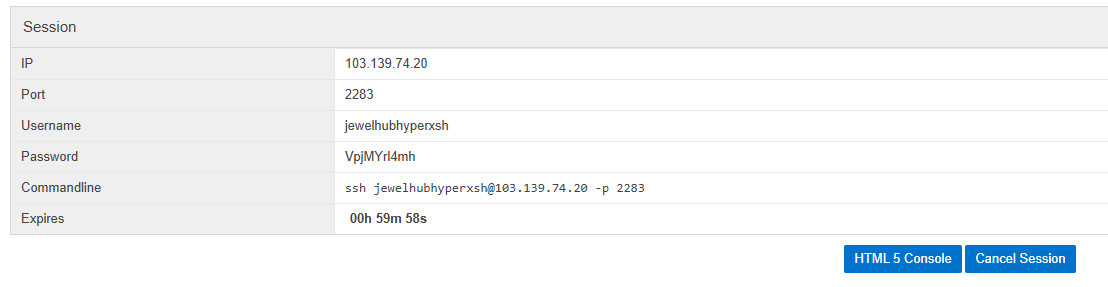
Then take ssh connection using this
Remember, while you are performing the fsck operation, the same console connection may get disconnected automatically, so be attentive and ready to quickly reconnect.
5. Reboot the machine
Take the console connection quick, and at the time of grub menu selection select the recovery option
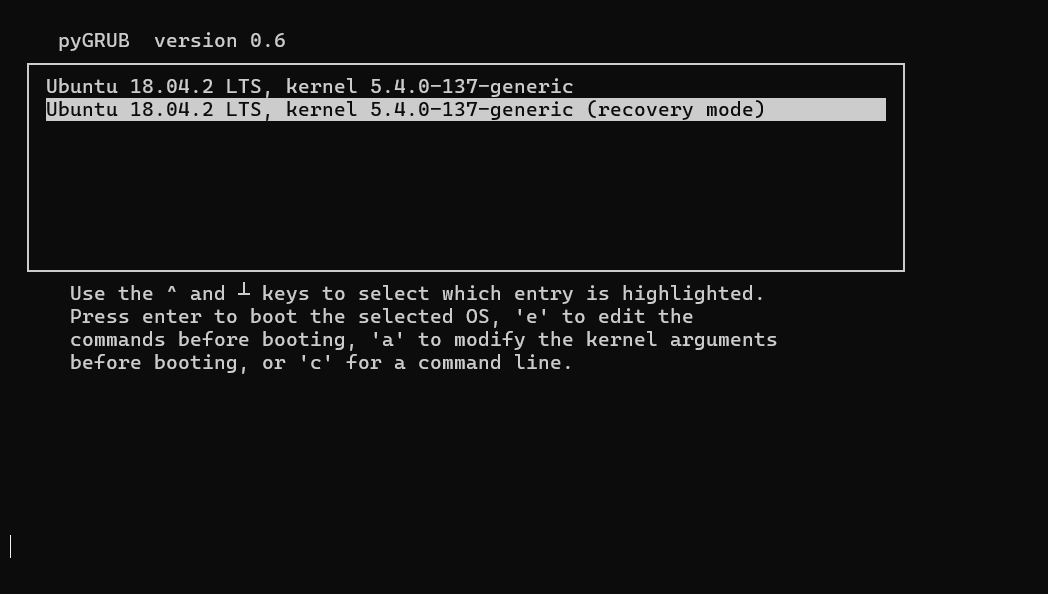
Now the system will automatically boot in recovery mode.
Once you are in the recovery mode, it may ask for root credentials, so do have those with yourself at quick.
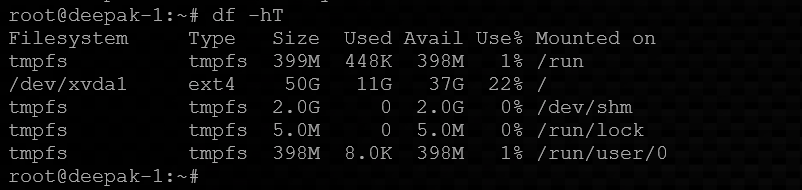
Check for your corrupted partitions (Most of the cases is main root partition), using the command:
# df -hT
Example: In my case is it /dev/xvda1
Now we repair the errors first by using:
# fsck -p /dev/xvda1

Non-interactive repair of minor filesystem issues during early boot. In other words, preening.
Then,
# fsck -f -y /dev/xvda1
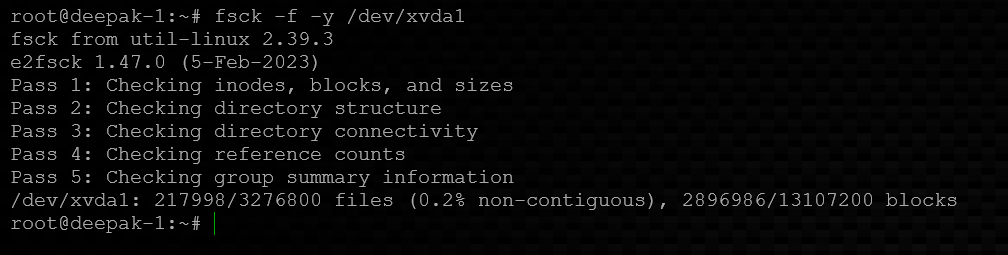
Forces a full filesystem check and auto-approves fixes to repair all detected errors.
Note: In your case, the output from the command may be longer than the one shown here, so don’t worry about that. It’s just repairing more files that were corrupted.
Then, before the final step we gonna make sure that the which filesystem is being used by the partition, so that can be done using,
# lsblk -f /dev/xvda1

It showed ext4, in the field of FSTYPE, which means it is ext4, so now we can move for
Do the reboot, and your machine will be in normal mode, without any disk errors.
End of method.
====